Quickstart Guide to Lightbox Dreamweaver Extension
Start the Ajatix Lightbox Dreamweaver Extension
Place the cursor into the position on page where you want to insert the lightbox. Start
the Ajatix Lightbox extension by clicking the Lightbox icon
 in the Ajatix group of the Insert panel.
Select a lightbox theme
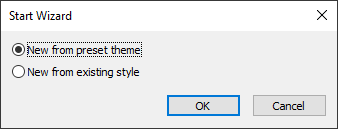
Click OK in the Start Wizard to accept the default option to create a new lightbox from a preset theme.
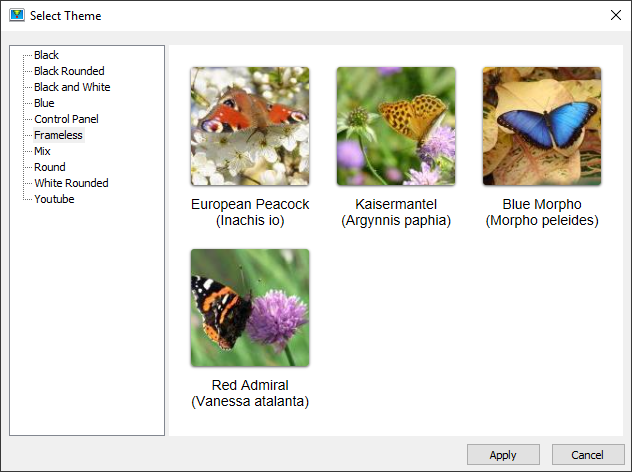
You will see a selection of preset lightbox themes. Select the one that suites you better, to start with. Ajatix Lightbox is fully customizable, you will be able to change the lightbox style, or apply a different theme any time later.
Populate the lightbox
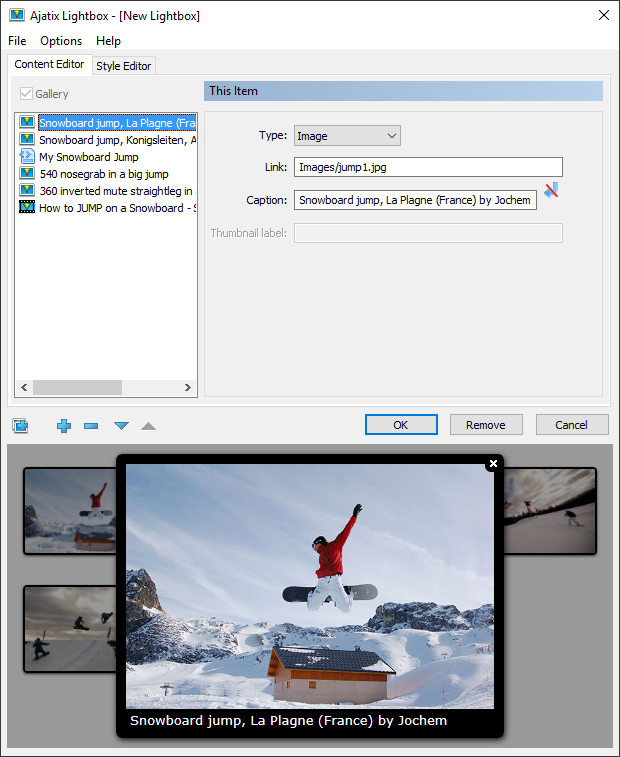
Your lightbox can be used to display a single image / video / html or a group of images / videos / html (gallery). Check the Gallery option to enable gallery.
Add new items to the lightbox by clicking the Add icon or add multiple images by clicking the Add Multiple Images icon. Set Type of the new item you wish. There are three types of items you can select from: Image, Video, or HTML content. There are also two types of HTML you can select. They are IFrame and Inline html.
To display an image, set Type to 'Image', select the source image (Link) and, optionally, a Caption for each entry. Thumbnails will be generated automatically.
To display a video set Type to 'Video'. Then go to http://youtube.com or http://vimeo.com, find the video you need, select and copy URL of the video from browser's address bar and paste it into the Video URL text box. Then, optionally, set a Caption, an Image (thumbnail will be generated based on this image), a Label, and size. If you don't set Image then lightbox extension will automatically get an image URL and a thumbnail URL for the video from the video hosting site.
To display an HTML content in the iframe set Type to 'HTML' and select subtype 'iframe'. Select the source link and, optionally, a Caption, an Image (thumbnail will be generated based on this image), a Label, and size (Width and Height).
To display an inline HTML content set Type to 'HTML' and select subtype 'inline'. Select ID of an existing html container or type inline HTML content and, optionally, a Caption, an Image (thumbnail will be generated based on this image), a Label, and size (Width or Height or both them).
Customize the lightbox style
Customize your lightbox design by changing colors, navigation images, caption, outline, and thumbnail styles in the Style Editor.
Preview the lightbox
The live preview window allows you to see what the lightbox will look like as you edit it. Any change in lightbox style or content is immediately reflected in the preview window. Click on thumbnails in the preview window to see the lightbox in action.
Save the lightbox
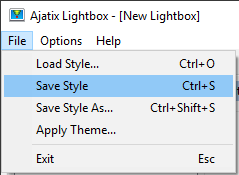
Save the lightbox style into a CSS file by selecting the Save Style command from the File menu.
Select the location and the name of the CSS file and click the Save button.
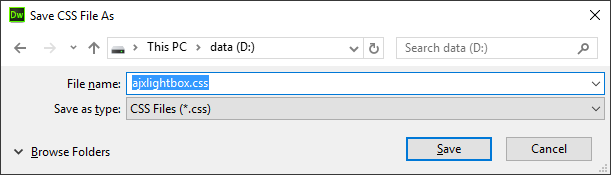
The saved CSS file can be re-used by other lightboxes on the same or different pages.
Click OK to finish editing the lightbox and close the Ajatix Lightbox extension.
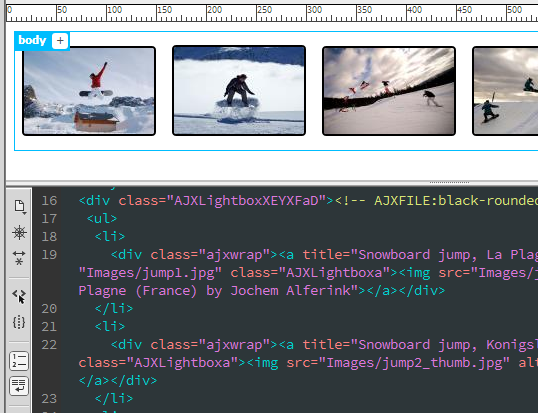
The extension will insert the lightbox markup into the page.
Editing the Lightbox
The following topics will help you to learn how to customize your lightbox:

